As an online store owner, you may find yourself needing to add a large number of products at once to your WooCommerce site. This can be a time-consuming and tedious task if done manually, but fortunately, there is a much simpler solution: bulk importing. By using the built-in CSV import functionality, you can save considerable time when it comes to adding products to your site. This feature is especially useful for owners with a vast product catalog that needs frequent updates or for those who are just starting their online store and have many products to add all at once. Just follow these simple steps to streamline your product management and save time.
Prepare your Product Data:

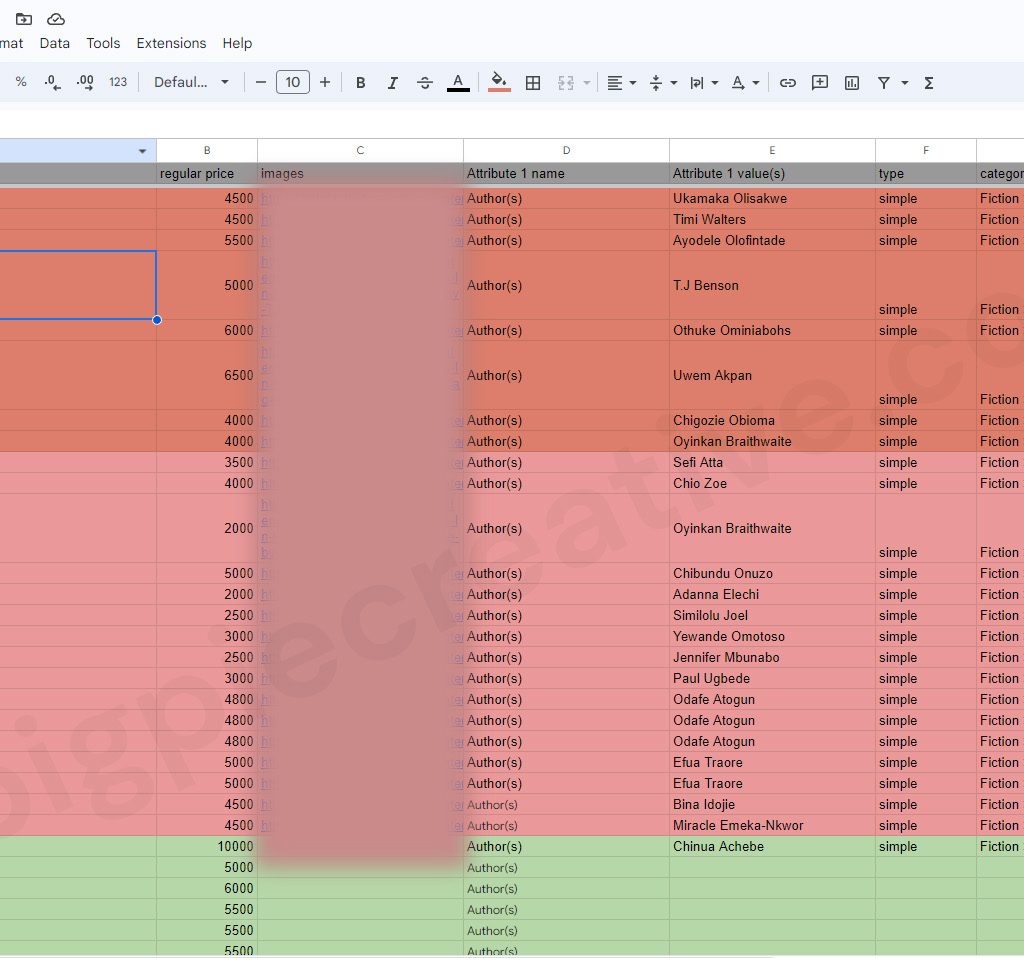
Create a CSV (Comma Separated Values) file that contains all the product data you want to import. Each row in the CSV file represents a product, and each column represents a product attribute such as title, description, price, SKU, etc. You can use spreadsheet software like Google Sheets to create and organize your product data. Avoid using Microsoft Excel because of formatting.
Download a sample product sheet here.
Format the CSV File:
Ensure that your CSV file is properly formatted to match the WooCommerce product import format. The required columns may include “sku,” “name,” “description,” “price,” “regular_price,” “sale_price,” “categories,” “tags,” and more. Refer to the WooCommerce documentation or CSV import template for the exact column headers and formatting requirements.
Access the WooCommerce Product Importer:

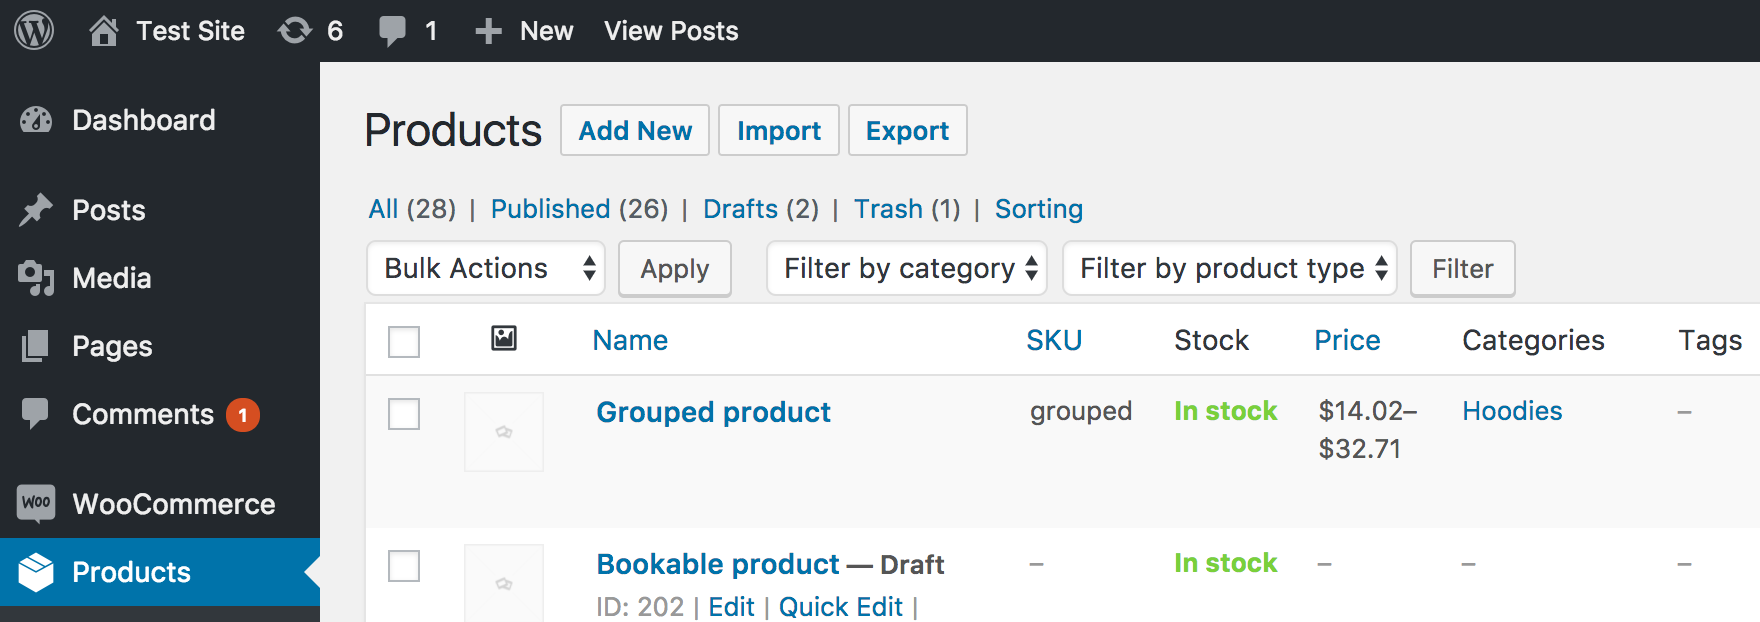
In your WordPress admin dashboard, go to “WooCommerce” and select “Products.” Then, click on the “Import” button at the top of the page. This will take you to the WooCommerce Product Importer tool.
Map the CSV Columns:

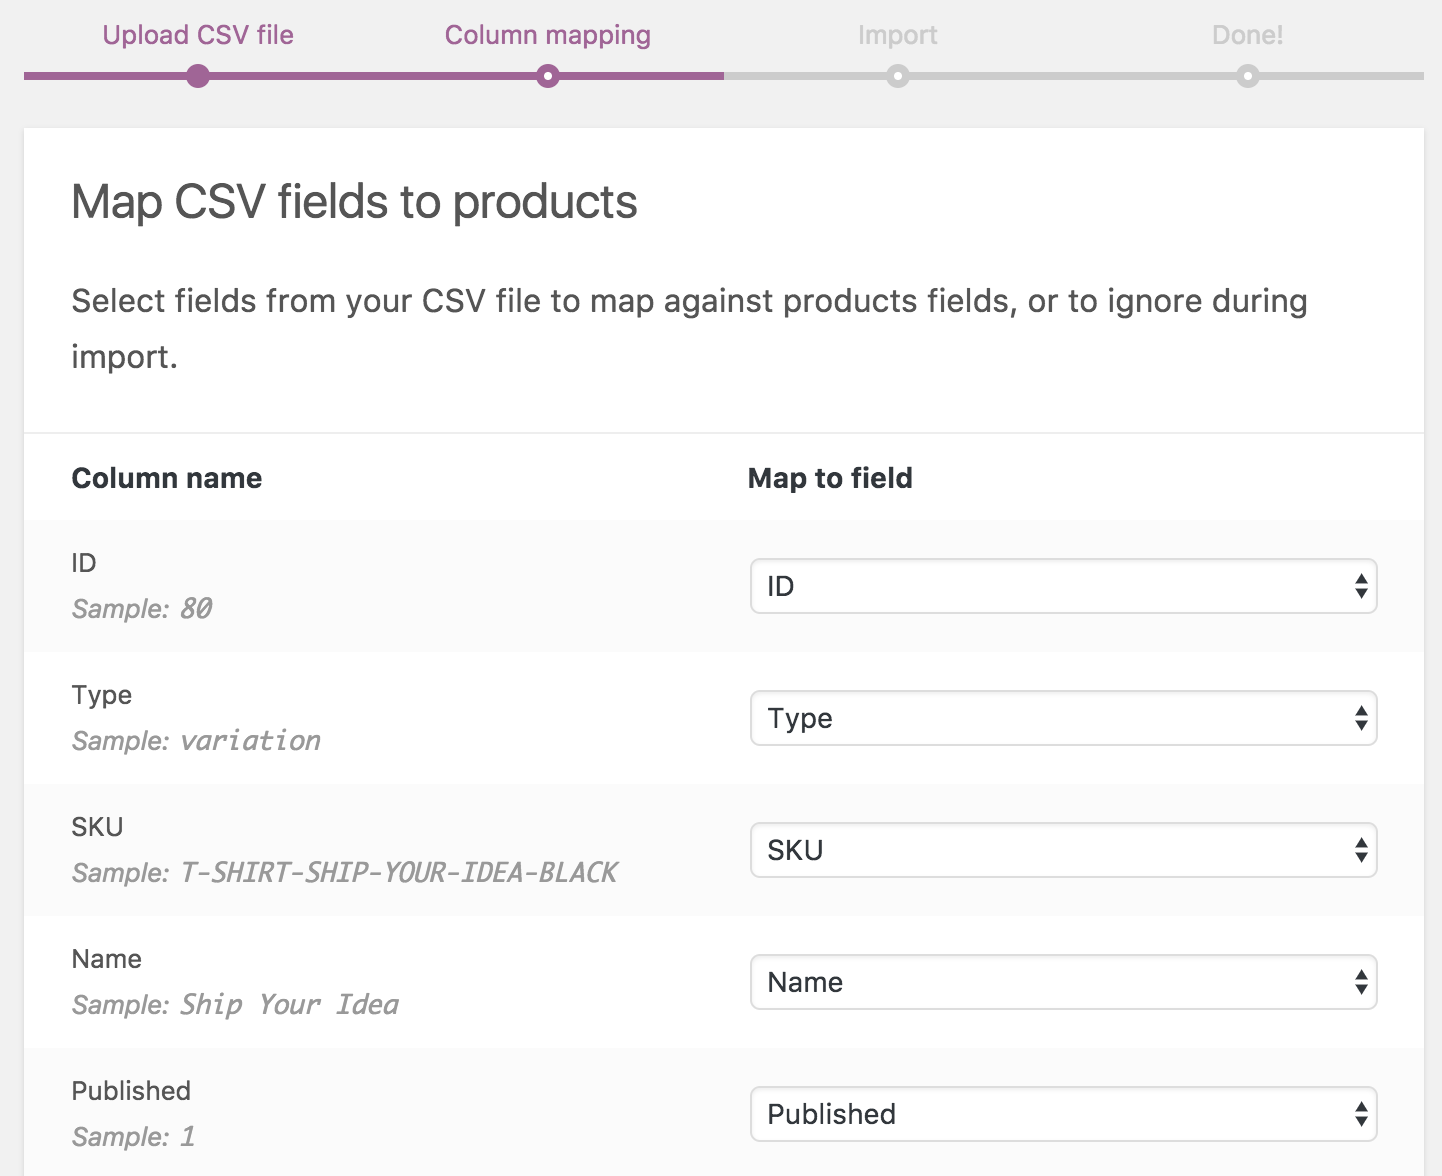
Click on the “Choose File” button, and select your CSV file from your computer. In the CSV Importer, WooCommerce will try to automatically match the column headers in your CSV file with the corresponding WooCommerce product fields. Review the column mappings and make adjustments if necessary. Ensure that each column is correctly mapped to the appropriate product attribute.
Review and Import:

Review the import settings and options available in the CSV Importer. You can choose to update existing products, skip duplicates, set default values for missing fields, and more. Make the desired selections based on your requirements.
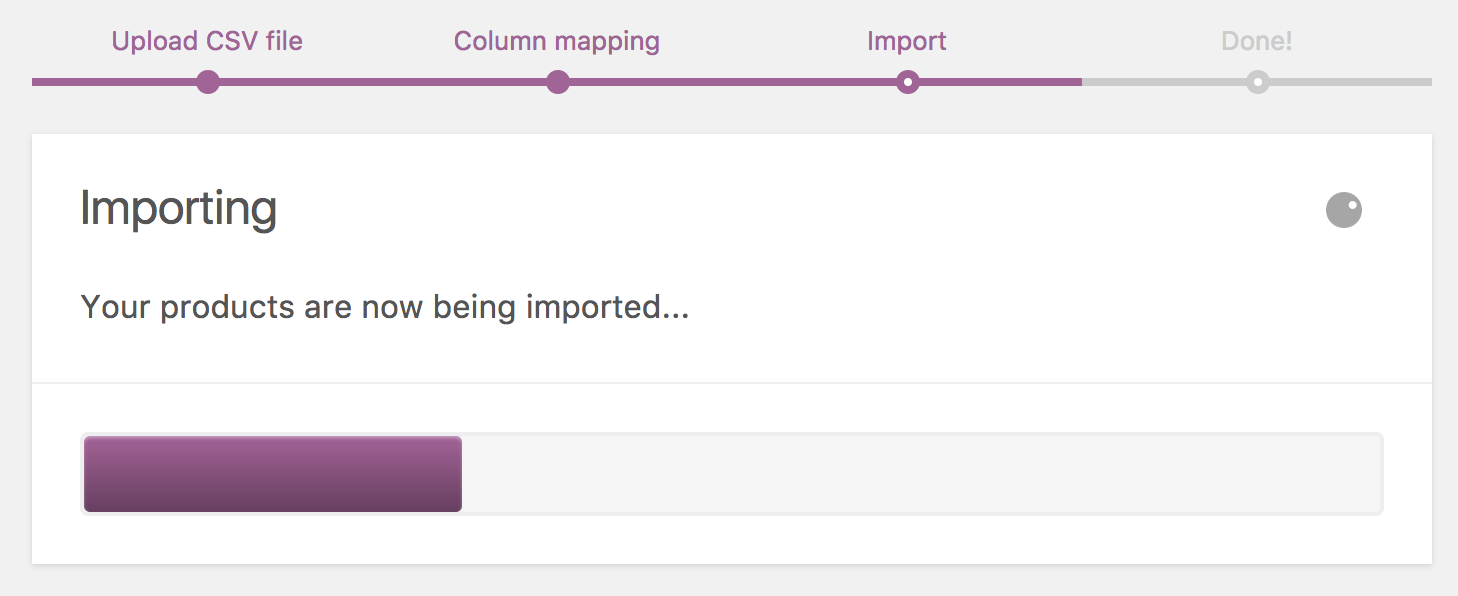
Once you have reviewed the import settings, click the “Run the Importer” button to start the import process. WooCommerce will process the CSV file and import the products into your WooCommerce store. The progress and status of the import will be displayed on the screen.
Verify Imported Products:
After the import is complete, go to your WooCommerce “Products” page and verify that the products have been imported correctly. Check the product details, attributes, images, and any other data to ensure accuracy.
In Conclusion:
It’s important to note that bulk product imports can be resource-intensive, especially if you have a large number of products or complex data. Ensure that your server environment can handle the import process smoothly. Also, it’s recommended to test the import process with a small sample of products before performing a large-scale import.
By following these steps, you can efficiently bulk import products into your WooCommerce store using a CSV file.

